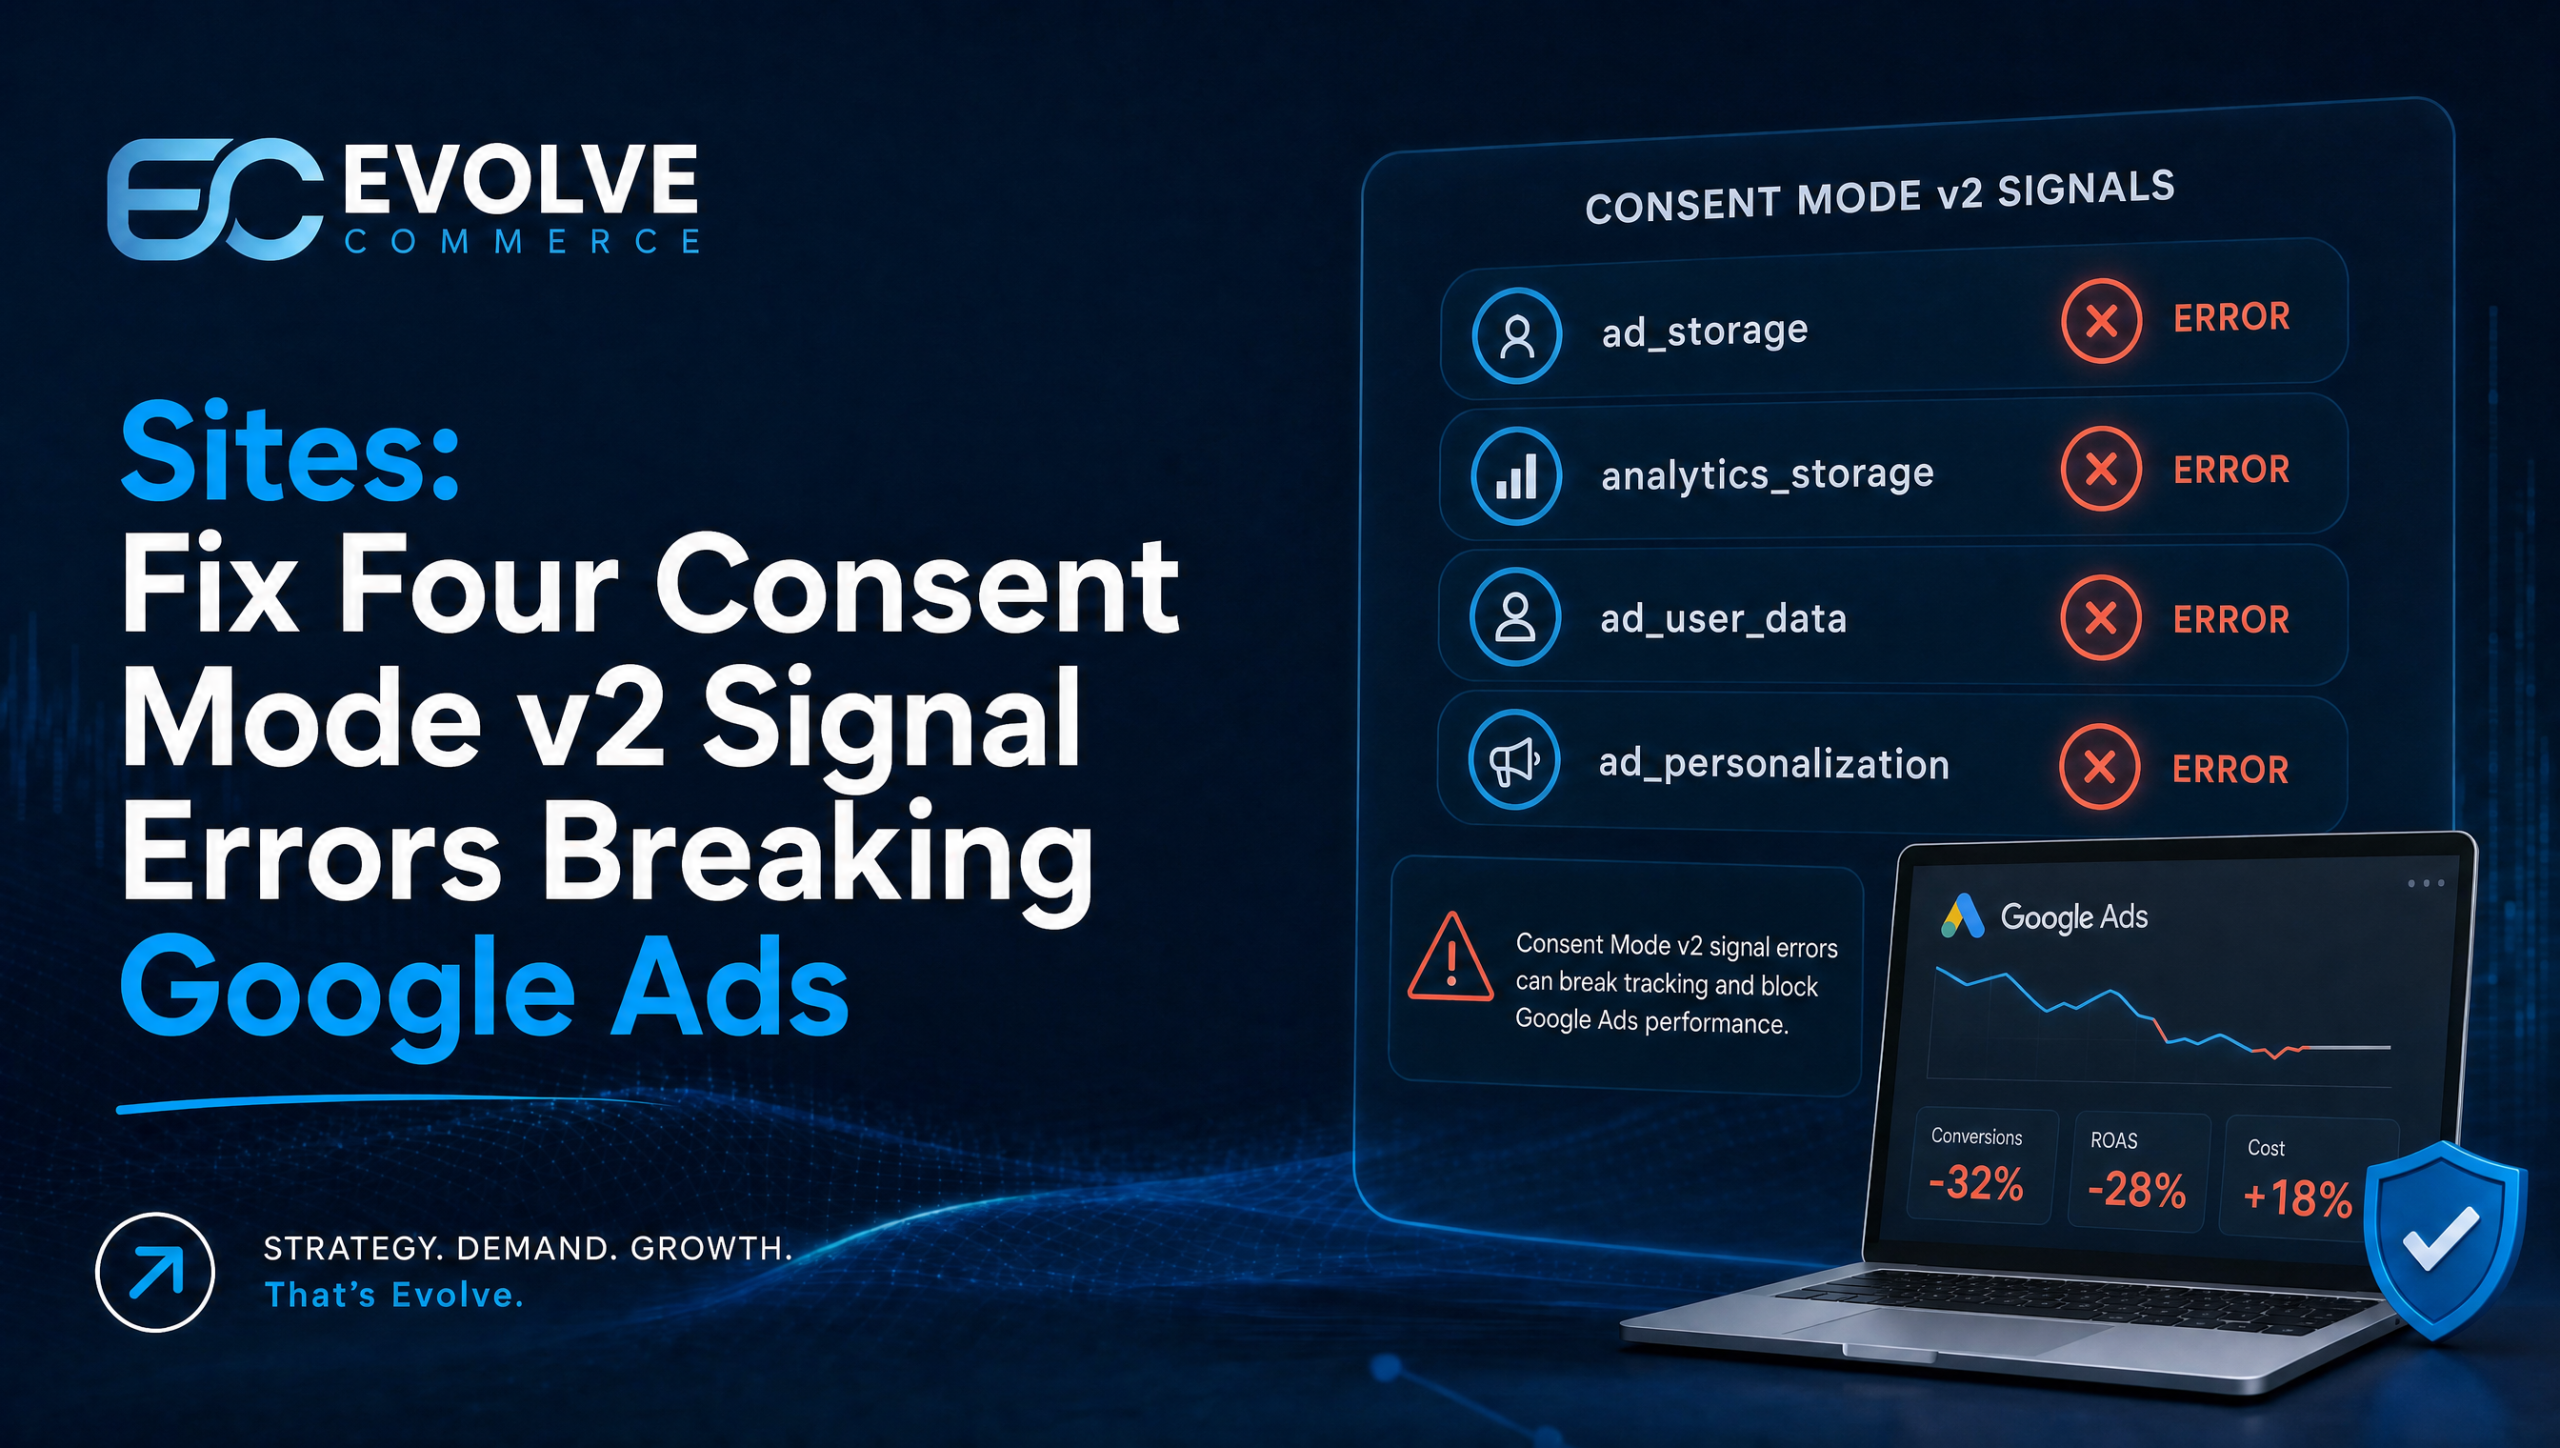
Consent Mode v2 is the mechanism that translates cookie banner choices into signals Google tags can act on, built around four consent states: analytics_storage, ad_storage, ad_user_data and ad_personalization. If your site or app hasn’t upgraded, Google Ads features like Customer Match and remarketing are already restricted. Upgrade now, so your tags send the right consent state and Google can model the gaps left by refused cookies.
- Sites must accurately map all four consent signals — ad_user_data and ad_personalization — to avoid losing Google Ads features like remarketing and Customer Match.
- Implementing default consent states before any tags fire and correctly updating consent after user interaction is essential for functional measurement and modeling.
- Advanced consent mode is generally recommended for e-commerce, as it allows cookieless pinging and better conversion modeling, even with slightly increased legal risks if defaults are strict.
- Proper testing requires fresh browsers, inspecting network requests, cookies, and ensuring consent choices persist across sessions before full deployment.
- Most measurement issues stem from late defaults, hard-coded tags outside CMP control, binary consent options, or misinterpreting modelled data as observed, all fixable with proper auditing.
Table of Contents
- What is consent mode v2 and how does it work?
- What changed in v2, and why every site needs to upgrade
- Basic vs advanced consent mode: which should you run?
- How do you implement consent mode v2 on your website?
- Server-side tagging and app SDK considerations
- How do you test and verify your consent mode implementation?
- What are the reporting limits of consent mode’s modelling?
- The consent mode mistakes that break measurement
- How Evolve Commerce approaches consent mode implementation
- Where to read more on consent mode v2
- Sources
What is consent mode v2 and how does it work?
Consent Mode sits between your cookie banner and every Google tag firing on your site. It doesn’t collect consent itself. Your Consent Management Platform (CMP) or custom banner does that job; Consent Mode simply carries the visitor’s decision to Google Analytics, Google Ads, and Floodlight tags, telling each one how to behave.
When a visitor lands on your site, your tags fire with a default consent state, typically denied until proven otherwise. The moment someone interacts with your banner, an update command overwrites that default, and every subsequent tag call reflects the new choice. Google describes this exchange in its consent mode setup guide for websites, which lays out the exact signals and commands involved.
The practical effect shows up in three types of pings:
- Consent-state pings fire on page load and after every consent update, telling Google which storage types are granted or denied.
- Key event pings record conversions, form fills, and purchases, still sent even when storage is denied, just without identifying cookies attached.
- Analytics pings carry the usual Google Analytics 4 event data, adjusted to omit anything that needs cookie storage the visitor has refused.
When storage is denied, tags don’t just switch off. They adapt. A tag that would normally drop a cookie instead sends a cookieless ping, stripped of identifiers but still useful for statistical modelling. That’s the entire point of the upgrade: preserve some measurement signal even when a visitor says no to cookies. Analytics support confirms this behaviour is only possible because Consent Mode is a translator layer, not a banner, which means you still need a working CMP feeding it accurate choices.
What changed in v2, and why every site needs to upgrade
Version 1 of Consent Mode worked with two signals: ad_storage and analytics_storage. Version 2 adds two more, ad_user_data and ad_personalization, and that addition is why so many previously compliant sites are now flagged as under-configured.
The four signals break down like this:
analytics_storage: controls whether Google Analytics can write and read cookies for measurement purposes.ad_storage: controls whether advertising cookies, like those behind remarketing, can be stored.ad_user_data: governs whether user data can be sent to Google for advertising purposes at all, regardless of storage.ad_personalization: governs whether that data can be used for personalised advertising, such as building remarketing lists.
The distinction between storage and use matters more than most implementations acknowledge. A site can deny ad_storage (no cookie gets written) while a visitor still consents to ad_user_data (their interaction data can be sent to Google in cookieless form). Confusing these two signals, treating them as interchangeable, is one of the most common configuration errors.
The consequences of getting this wrong are concrete. Google Ads Help confirms that features like Customer Match, enhanced conversions, and personalised remarketing lists are gated behind ad_user_data and ad_personalization specifically. Sites still running v1 signals, or no consent mode at all, will see these features silently degrade or stop working, often with no error message to explain why.
Basic vs advanced consent mode: which should you run?
Basic mode blocks Google tags entirely until a visitor interacts with your banner. Nothing fires, no pings, no cookies, until consent is explicitly granted or denied. It’s the more legally conservative option, since no data reaches Google before a decision is made, but it comes at a real measurement cost: you lose visibility into everyone who bounces before engaging with the banner, which on many sites is a sizeable chunk of traffic.
Advanced mode lets tags load immediately with default states, usually denied, and send cookieless pings even before or without interaction. Google’s Ads support documentation confirms this is what unlocks advertiser-specific conversion modelling: Google can estimate the conversions it can’t directly observe, using patterns from consented traffic to fill the gaps.
| Factor | Basic mode | Advanced mode |
|---|---|---|
| Tag behaviour before consent | Fully blocked | Loads with default state, sends cookieless pings |
| Data reaching Google pre-consent | None | Non-identifying signals only |
| Conversion modelling | Limited to none | Available, once thresholds are met |
| Legal exposure | Lower | Slightly higher, mitigated by correct defaults |
| Best suited to | Regulated sectors, cautious legal teams | Retailers and advertisers prioritising measurement |
Pro Tip: If your legal team is nervous about advanced mode, don’t default to basic mode as a compromise. Set stricter defaults instead, deny everything until explicit consent, and let advanced mode’s cookieless pings do the modelling work without ever storing a cookie prematurely.
For most e-commerce brands running paid media at any scale, advanced mode is the sensible default. The modelling gains typically outweigh the marginal legal risk, provided your defaults are configured correctly from the outset.
How do you implement consent mode v2 on your website?
Getting the sequence right matters more than which tool you use to implement it. Google, Google Tag Manager (GTM), and every major CMP expect the same order of operations, and skipping a step is what causes most broken implementations.
- Set default consent state in the
<head>, before any other tag fires. This has to load before your GTM container snippet, before gtag.js, before anything else. If defaults load after a tag has already fired, that tag has effectively run with no consent instructions. - Let your banner render and capture the visitor’s choice. This is your CMP’s job, not Consent Mode’s.
- Fire the update command the moment a choice is made, overwriting the defaults with the visitor’s actual selections.
- Persist the choice so it survives page reloads and future visits, and replay it correctly on return.
A basic gtag.js default call looks like this, placed before your container snippet:
gtag('consent', 'default', {
  'ad_storage': 'denied',
  'ad_user_data': 'denied',
  'ad_personalization': 'denied',
  'analytics_storage': 'denied'
});
Once the visitor accepts, your CMP fires an update:
gtag('consent', 'update', {
  'ad_storage': 'granted',
  'ad_user_data': 'granted',
  'ad_personalization': 'granted',
  'analytics_storage': 'granted'
});
If you’re working in GTM rather than gtag.js directly, the configuration lives under Admin > Container Settings > Additional Settings > Consent Overview, where you set default consent per tag type and choose which tags are blocked or unblocked based on each signal. Google’s own consent mode guide walks through the exact settings and gives working code examples for both approaches.
Before calling any implementation finished, confirm three things with your CMP:
- It maps its own consent categories to all four Google signals, not just two.
- It fires the default call early enough to precede every other tag.
- It correctly persists and replays a returning visitor’s choice, rather than resetting to default on every session.
Pro Tip: Don’t trust your CMP’s marketing copy on v2 support. Open your browser’s network panel and check the actual parameters being sent. Plenty of “v2 ready” platforms are still only mapping two of the four signals.
Server-side tagging and app SDK considerations
Server-side tagging doesn’t remove the need for Consent Mode, it relocates part of the work. Your web container still captures the visitor’s choice and sends it downstream; the server container then has to receive and honour that same consent state.
A few things need attention specifically in a server setup:
- The GA4 client and Conversion Linker running in your server container need to be configured to respect incoming consent parameters, not just process every hit as if consent were granted.
- Consent passthrough has to be explicitly enabled between the web and server containers. This isn’t automatic; miss this step and your server container processes hits with no consent context attached at all.
- Region scoping matters if you serve visitors across multiple jurisdictions with different default rules; server configuration needs to reflect that rather than applying one blanket default everywhere.
- URL passthrough settings can leak identifying parameters into server logs if consent is denied but the passthrough tag hasn’t been told to respect that.
Google’s documentation on server-side consent mode confirms the mechanics here, and the upside is real: centralising consent handling server-side generally cuts down on the number of client-side third-party requests firing directly from the browser, which can improve both privacy posture and page performance.
For mobile apps, the equivalent work is upgrading the Android and iOS SDKs to versions that support v2’s four signals, then mapping your in-app consent banner’s choices to the SDK’s consent fields. An outdated SDK simply won’t recognise ad_user_data or ad_personalization at all, regardless of what your banner tells the visitor.
How do you test and verify your consent mode implementation?
Testing has to cover both the accept and refuse paths, on a clean browser profile, before you trust any of it in production. A single successful test on your own logged-in browser, cookies already set from a previous visit, tells you nothing useful.
- Load the site without interacting with the banner, in an incognito or fresh profile, and confirm tags fire with denied defaults rather than not firing at all or defaulting to granted.
- Open the network panel and inspect outgoing requests to Google domains for consent parameters, specifically the
gcs,gcd, anddmafields.gcsshows the granted/denied state per signal,gcdreflects the delivery mechanism used, anddmaindicates whether Digital Markets Act signals are attached. - Check the cookie jar to confirm no advertising or analytics cookies are written before consent is granted.
- Run both accept and refuse flows on separate fresh profiles, confirming that refusing genuinely blocks cookie writes while still sending cookieless pings.
- Reload the site after making a choice to verify the persisted decision replays correctly rather than resetting to default.
A practical technique worth adopting from Viewing’s breakdown of the four signals is to run this network-panel check on a genuinely clean profile every time, since cached consent cookies from earlier testing sessions will mask a broken default configuration.
Once the technical checks pass, give the implementation time to prove itself in reporting. Google’s modelling requires a minimum volume of daily events or users within seven-day observation windows before advertiser-specific modelled conversions start appearing. Checking your Ads or Analytics reports the day after launch and concluding the upgrade “didn’t do anything” is a common and avoidable mistake; the thresholds simply haven’t been met yet.
What are the reporting limits of consent mode’s modelling?
Modelled data fills gaps, it doesn’t replace them entirely, and treating modelled figures as equivalent to observed data is where a lot of reporting goes wrong.
Google’s modelling only activates once traffic volume clears its threshold, calculated over rolling seven-day windows. Below that threshold, no modelled numbers appear at all, and Google Ads or Analytics will simply show the observed figures, undercounted as they are.
Several report areas remain untouched by modelling regardless of volume:
- Audience building still relies on actual observed users, not modelled estimates, so remarketing lists built from denied-consent traffic will be smaller than your total visitor count suggests.
- Raw data exports through the BigQuery link or the API never include modelled rows, only genuinely observed events.
- Some predictive metrics, like predictive audiences and purchase probability scores, need a baseline of real behavioural data that modelling can’t substitute for.
For campaign decisions, label modelled and observed figures separately in internal reporting rather than blending them into one number.
The consent mode mistakes that break measurement
Most broken implementations trace back to one of four repeat offenders, and every one of them is fixable in an afternoon once you know what to look for.
- Defaults set too late. If the default consent call loads after the GTM container or gtag.js snippet, tags have already fired uncontrolled. Move it into the
<head>, above everything else. - Single-toggle banners. A banner offering only “accept all” or “reject all” collapses four distinct signals into one binary choice, which technically works but throws away the granularity v2 was built to provide.
- Hard-coded tags outside CMP control. Tags dropped directly into theme code or third-party plugins, bypassing GTM entirely, ignore consent signals altogether. Audit your theme files and app plugins specifically for this.
- Treating modelled data as observed. Reporting a modelled conversion figure as if it were a hard count misleads anyone making budget decisions off that number.
As Simo Ahava’s practitioner analysis puts it, Consent Mode is a translator, not a compliance certificate, so fixing these four issues gets you a working technical bridge, not a legal guarantee.
Pro Tip: Run a plugin and theme audit specifically for hard-coded tracking pixels, particularly on Shopify and WooCommerce sites where third-party apps love to inject their own scripts outside GTM’s reach.
How Evolve Commerce approaches consent mode implementation
We audit existing tag setups first, then fix default placement, map CMP categories to all four signals, and configure GTM or server-side containers around that structure. Verification happens before launch, not after. The goal is measurement that holds up under both scrutiny and modelling thresholds, which you can see reflected in our case studies and the Adwize analytics dashboard we build implementations around.
— Evolve Commerce
Where to read more on consent mode v2
For implementation detail beyond this guide, Google’s consent mode setup documentation and Google Ads Help are the primary sources. Didomi’s CMP documentation covers consent-type mapping in more depth.
If your Consent Mode setup needs a proper audit rather than a patch job, Evolve Commerce can walk through the implementation with you end to end.
Sources
- Set up consent mode on websites | Tag Platform
- Consent Mode V2 For Google Tags — Simo Ahava
- Google Consent Mode v2: The Four Signals Explained | Viewing